Safety Precautions for Goulds Water Pump Repair
Always disconnect power before starting repair to prevent electrical shocks or injuries. Wear protective gear, including gloves and safety glasses. Use authorized tools to avoid damaging components. Follow the Goulds service manual instructions to ensure safe disassembly and handling of parts. Never remove protective covers without proper authorization. Regularly inspect equipment for wear or damage to maintain operational safety.
1.1 Essential Safety Protocols Before Starting Repair
Before starting Goulds water pump repair, ensure the power supply is disconnected to prevent electrical hazards. Wear protective gear, including gloves and safety glasses, to minimize injury risks. Use tools approved by Goulds to avoid damaging components. Always refer to the official service manual for guidance. Check for leaks or stains near the shaft housing, as indicated in the manual. Secure the area to prevent accidents and ensure all safety protocols are followed meticulously.
1.2 Proper Use of Tools and Protective Equipment
Always use Goulds-approved tools to avoid damaging components during repair. Wear protective gear, including gloves and safety glasses, to prevent injuries. Inspect tools for damage before use to ensure reliability. Follow the service manual’s guidelines for tool usage to maintain safety and efficiency. Properly secure loose clothing or jewelry to avoid entanglement with moving parts. Ensure all equipment is in good condition to prevent accidents and ensure effective repairs.
Understanding Goulds Water Pump Components
Understanding Goulds pump components is crucial for effective repairs. Key parts include the impeller, mechanical seal, motor, and check valve, each serving vital functions for optimal performance.
2.1 Overview of Major Pump Parts and Their Functions
The Goulds water pump consists of key components like the impeller, which drives water flow, and the mechanical seal, preventing leaks. The motor powers the pump, while the check valve ensures water flows in one direction. Each part plays a vital role in maintaining efficient operation and preventing system damage. Understanding these components is essential for effective troubleshooting and repair.
2.2 Importance of Impeller and Mechanical Seal
The impeller is crucial for creating water flow and pressure, while the mechanical seal prevents leaks, ensuring efficient operation. Damage to these parts can lead to reduced performance or complete pump failure. Regular inspection and maintenance of these components are essential to sustain optimal functionality and prevent costly repairs. Their proper functioning ensures reliable water supply and system longevity.
Common Issues in Goulds Water Pumps
Common issues include low water pressure, high power consumption, and leaks. These problems often stem from worn or damaged components like the impeller or mechanical seal.
3.1 Diagnosing Low Water Pressure Problems
Low water pressure in Goulds pumps can result from clogged suction lines, faulty check valves, or worn impellers. Start by inspecting the intake for debris and ensuring the check valve isn’t leaking. Check the impeller for wear or damage, as this directly affects water flow. Refer to the pressure gauge on the tank to monitor changes and identify potential issues early.
3.2 Identifying and Addressing High Power Consumption
High power consumption in Goulds pumps may indicate internal wear or misalignment. Check for leaks in the system, as they can cause the pump to overwork. Inspect the impeller and mechanical seal for wear, as these components directly impact efficiency. Ensure proper motor and pump alignment to reduce strain. Regular maintenance, like cleaning or replacing damaged parts, can help restore optimal performance and lower energy use.

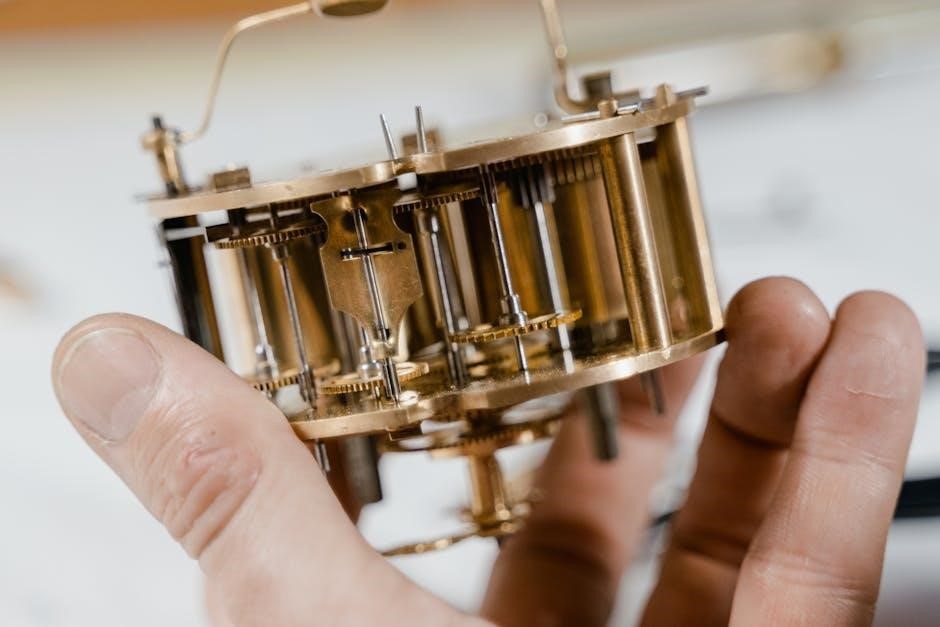
Step-by-Step Disassembly Process
High power consumption in Goulds pumps often results from worn or damaged components like impellers or mechanical seals. Check for misalignment between motor and pump, as this can increase energy use. Inspect for leaks, which may cause the pump to work harder. Regular maintenance, including cleaning or replacing faulty parts, can help restore efficiency and reduce power usage. Addressing these issues promptly prevents further damage.
4.1 Removing the Motor and Adaptor Bracket
To remove the motor and adaptor bracket, ensure the pump is disconnected from power. Use a wrench to loosen and remove the bolts securing the motor. Carefully lift the motor-adaptor assembly away from the pump housing. This step exposes internal components like the impeller and shaft. Always handle the motor with care to avoid damage. Proper alignment and secure reassembly are critical for optimal pump performance.
4.2 Inspecting the Impeller and Shaft for Damage
After removing the motor, inspect the impeller for wear, cracks, or erosion. Check the shaft for signs of misalignment or damage. Use a mirror to examine hard-to-reach areas. Look for leaks or stains around the shaft housing. Any damage to these components can lead to reduced efficiency or pump failure. Ensure all parts are clean and free from debris before proceeding with repairs. Proper inspection ensures reliable operation post-repair.

Inspection and Identification of Faulty Parts
Thoroughly examine each component, focusing on wear, leaks, or corrosion. Check the check valve for proper sealing and inspect the mechanical seal for any signs of damage.
5.1 Checking for Leaks in the Check Valve
To identify leaks in the check valve, inspect the valve seat and gasket for cracks or mineral buildup. Look for water droplets or stains around the valve area. A leaking check valve can cause pressure drops and inefficient pumping. Replace the valve if damage is detected to ensure proper system function and prevent further issues.
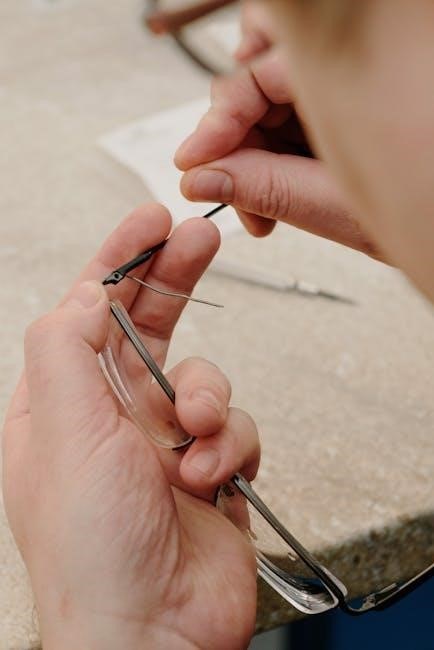
5.2 Detecting Wear on the Mechanical Seal
Examine the mechanical seal for signs of wear, such as scoring, cracks, or excessive play. Leaks around the seal indicate potential failure. Inspect for water droplets or stains near the seal area, as these suggest improper sealing. Use a mirror to check hard-to-see surfaces. If wear is detected, replace the seal promptly to prevent further damage and maintain pump efficiency. Proper alignment during reassembly is crucial.
Replacement of Worn or Damaged Components
Replace the impeller and gaskets with genuine Goulds parts to ensure optimal performance. Install a new mechanical seal, ensuring proper alignment and fitment to prevent future issues.
6.1 Replacing the Impeller and Gaskets
Replace the impeller and gaskets with genuine Goulds parts to ensure optimal performance. Carefully remove the old impeller and inspect for wear. Install the new impeller, ensuring proper alignment and fitment. Replace all gaskets with new ones, applying a thin layer of lubricant if recommended. Reassemble the pump according to the service manual’s instructions and test for leaks before restarting. This ensures efficient operation and prevents future damage.
6.2 Installing a New Mechanical Seal
Install a new mechanical seal by first cleaning the area around the shaft and housing. Apply a thin layer of lubricant to the new seal for easier installation. Align the seal properly with the shaft and housing, ensuring it is seated correctly. Tighten the shaft sleeve gradually to avoid misalignment. Use a wrench to secure the seal in place, following the manual’s torque specifications. Test the pump after reassembly to ensure no leaks.

Reassembly and Alignment of Pump Parts
Reassemble pump parts by aligning the motor and impeller precisely. Ensure all gaskets and seals are correctly positioned to prevent leaks. Follow manual guidelines.
7.1 Properly Aligning the Motor and Pump
Proper alignment of the motor and pump is crucial for efficient operation. Misalignment can cause vibration, reducing pump life. Use shims and alignment tools to ensure the motor and pump are perfectly aligned. Refer to the Goulds manual for specific alignment procedures. Tighten all bolts securely after alignment to maintain stability and prevent future issues. Always double-check alignment before starting the pump.
7.2 Ensuring Tight Seals to Prevent Leaks
Tight seals are essential to prevent leaks and maintain pump efficiency. Inspect all gaskets and O-rings for wear or damage. Replace any compromised seals with genuine Goulds parts. Apply a thin layer of silicone-based lubricant to ensure a leak-proof fit. Tighten all connections gradually and evenly to avoid over-tightening. Test the system under operational pressure to confirm seal integrity. Regular inspections help prevent future leaks and extend pump lifespan.
Testing the Pump After Repair
After reassembly, start the pump and check for leaks at all connections. Monitor pressure and flow rate to ensure proper operation. Verify smooth performance.
8.1 Starting the Pump and Checking for Leaks
After reconnecting the power, start the pump and inspect all connections for any signs of leaks. Use a soapy water solution to detect gas leaks or seal failures. Listen for unusual noises indicating improper installation. Ensure the pump operates smoothly before resuming full water supply. Monitor pressure gauges to confirm system stability and performance.
8.2 Monitoring Pressure and Flow Rate
Using a pressure gauge, check the system’s operating pressure to ensure it matches the manufacturer’s specifications. Measure the flow rate by timing water collection in a container. Compare these readings with the Goulds manual to verify performance. Any deviations may indicate remaining issues. Adjust settings if necessary to optimize pump efficiency and prevent future problems. Regular monitoring ensures long-term reliability and proper function.

Maintenance Tips for Long-Term Efficiency
Regularly inspect the pump and its components for wear or damage. Schedule annual professional check-ups to ensure optimal performance. Replace worn parts promptly to prevent system failure. Clean filters and screens monthly to maintain proper water flow. Keep the surrounding area clear of debris to enhance cooling and efficiency. Consistent upkeep extends the pump’s lifespan and reduces operational costs.
9.1 Regular Inspection Schedule
Establish a monthly routine to inspect the pump’s exterior for signs of damage or corrosion. Check the suction and discharge pipes for blockages or leaks. Monitor the motor temperature to ensure it operates within safe limits. Schedule a professional inspection every six months to assess internal components like the impeller and mechanical seal. This proactive approach helps identify potential issues before they escalate, ensuring continuous efficiency and preventing costly repairs.
9.2 Best Practices for Preventive Maintenance
Regularly check for leaks around seals and connections to prevent water damage. Inspect internal components like the impeller and mechanical seal for wear. Ensure proper alignment of the motor and pump during reassembly. Lubricate bearings as recommended by the manufacturer. Maintain a clean environment around the pump to avoid debris buildup. Always follow Goulds’ guidelines for preventive maintenance to extend the pump’s lifespan and optimize performance.

Resources for Further Assistance
Access the official Goulds service manual for detailed repair guides. Contact Goulds support or visit authorized service centers for professional assistance and genuine replacement parts.
10.1 Accessing the Official Goulds Service Manual
The official Goulds service manual is available on the Goulds Water Technology website. It provides detailed repair procedures, troubleshooting guides, and diagrams. To access it, visit the Goulds support page or contact authorized dealers. The manual is essential for understanding specific repair requirements and ensuring compliance with manufacturer guidelines. It also includes safety precautions and maintenance tips for optimal pump performance.
10.2 Contacting Goulds Support or Authorized Service Centers
For assistance, contact Goulds customer support directly via phone, email, or their official website. Authorized service centers provide professional help, genuine parts, and expert advice. Ensure to verify the credentials of service centers to maintain warranty validity and receive reliable solutions tailored to your Goulds pump model. This ensures efficient troubleshooting and compliance with manufacturer guidelines for optimal performance.